Set a Static IP on your ESXi Host V5.5
Assigning a static IP to your ESXi host is extremely easy to do, and is highly recommended as you will always want your host to have the same IP.
- Notes:
- If your network is set up without DHCP, then you will have to do this from the physical server itself, or the KVM.
- When assigning a static IP to the host, make sure that you do not assign an IP that has already been used if your network does have DHCP enabled.
- If you do not set up a static IP, you will likely have issues when you reboot the host or your router reboots.
For this tutorial, I am making the changes from the host’s console itself, as setting a Static IP is one of the first things to do in the configuration of a new host
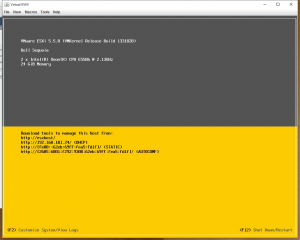
First Click on F2 Customize System/View Logs:
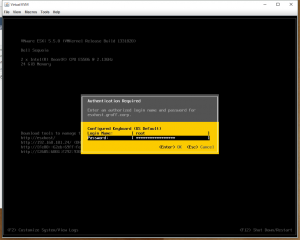
Enter the password for the root user when prompted and hit Enter:
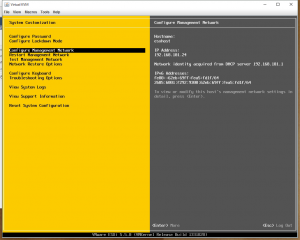
Choose the third option, Configure Management Network, and hit Enter:
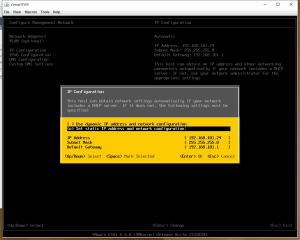
Again, choose the third option, IP Configuration, and hit Enter.
Here you will change the option to Set static IP address and network configuration: and hit the Spacebar to apply that option. Then enter the fields for the IP address appropriately and hit Enter to apply those settings:
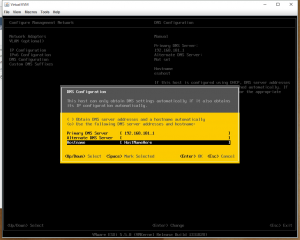
Next scroll down to the DNS Configuration option and hit Enter.
Here enter the appropriate DNS information for your server:
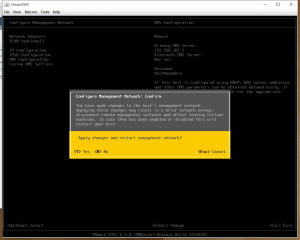
Hit Escape to exit this screen and then hit Y to apply the changes and restart the management network:
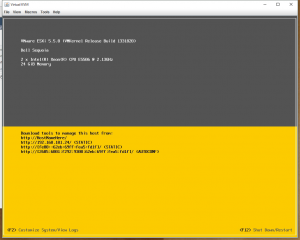
Now hit Escape again and you will be back at the main screen and you will now see the Static IP and some of the DNS information that you just configured:
You’re done, now you can go back to your computer, and access your ESXi host from the newly assigned IP.


