NOTE: This how-to assumes that you have set up you FreeNAS installation according to the instructions shown in my tutorial: Install and Setup FreeNAS on Dell CS24-SC
Setting up a Share
First we are going to need to set up a share(I did cover this in my Install and Setup FreeNAS on Dell CS24-SC tutorial, so you can skip if you already followed that).
NOTE: I have chosen to use CIFS, as I am going this from a Windows Machine.
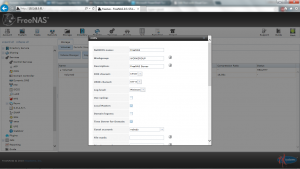
Navigate to your FreeNAS IP and login, then expand “Services” on the side and click on “CIFS” and it will bring up the following:
You can choose what to put in all these fields, just make sure you check and IP to bind it to at the bottom. Next go back to the left side of the screen and click on “Control Services” under the “Services” section.
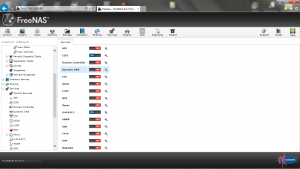
Here you will need to turn “CIFS” on. Now we will need to add a CIFS share onto FreeNAS, first expand “Sharing” then expand “Windows (CIFS) Shares” and click on “Add Windows (CIFS) Share”
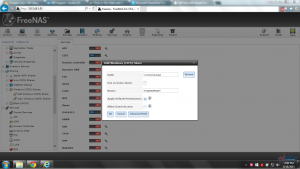
I am choosing to share the root of my “Volume0” and I decided to name the share “FreeNASROOT”
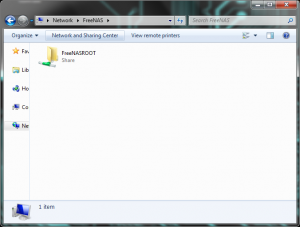
After this is done bring up Windows Explorer and verify that you can access the share. For me I had to type in \\FreeNAS or \\192.168.0.91 in my explorer bar. Once it connected I saw the share “FreeNASROOT” and when i selected that I was asked for creds to access the share, enter the root creds you use to log into the WebGUI as we have not created any users at this time.
**I am not covering users and user permissions in this how-to, but it is pretty simple and you should always create a user so you are not doing everything as the root user**
Installing Plex
FreeNAS makes this pretty damn easy. Simply click on the “Plugins” tab and wait for it to load.
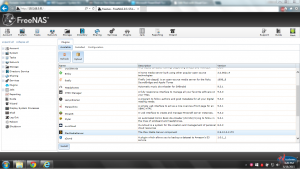
Once its loaded you will see something along the lines of the following:
Here you need to scroll down to “PlexMediaServer” select it, then click “Install” at the bottom of the page. You will get a popup notification that reads “Are you sure you want to install “PlexMediaServer” plugin?” Click “OK” and it will proceed with the install and configurations.
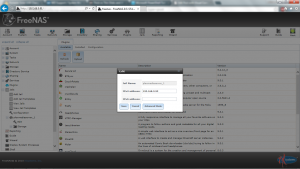
Now we need to configure what IP Plex will listen on. You can do this by expanding the “Jails” tab and then expand “plexmediaserver_1” and now click “edit”
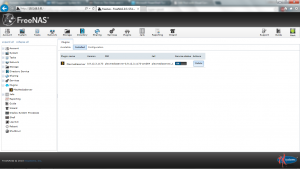
Go ahead and give it an IP that will work for you. And now click on the “Installed” tab on the Plugins page and you will see the following:
The only difference between what you see and the image above is that your Plex will be powered off (red). Go ahead and turn it on (blue). Note that you may get “some error occurred” when you try to do this. That is bc we just changed the Jail IP. Go ahead and reboot the box if that is the case. After it powers back up, navigate back to the page above and power Plex on. Once it is on you can go to the following address: (change the IP with the IP of your Plex Jail)
http://192.168.0.93:32400/web/index.html
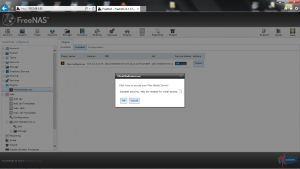
You can also get here by refreshing your page, then expand the plugins tab and select Plex Media Server as seen in the following screenshot:
In the popup window click on the “here” link and that will bring up Plex! You did it, you installed Plex successfully!
Now we just have to configure it so you can see your movies on there.
Configuring Movies with Plex
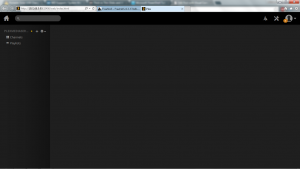
Once you browse to http://192.168.0.93:32400/web/index.html your screen should look like this:
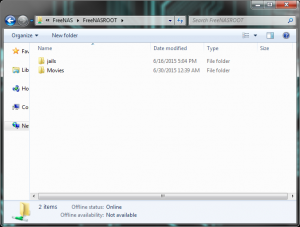
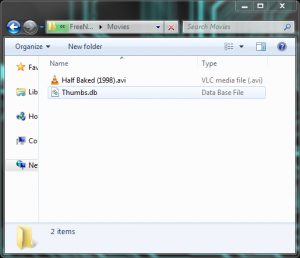
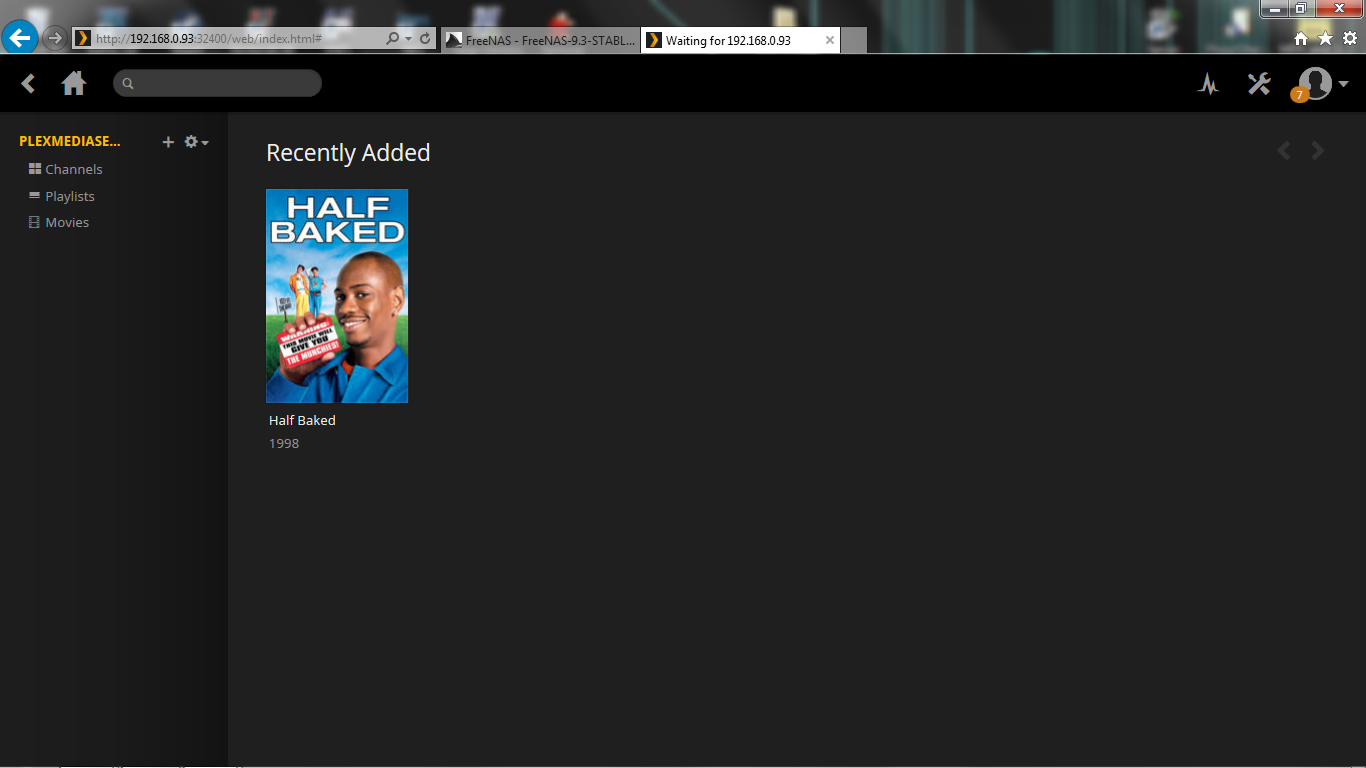
Before we can tell what movies Plex to look at, we first have to add a movie, or movies, to our FreeNAS Share we set up. So, go ahead and navigate back to your Share in explorer and add a folder called “Movies“, then add a Movie into that Folder as shown below:
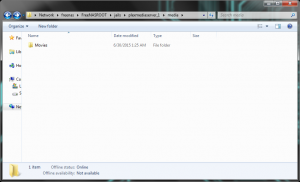
We also need to add in a corresponding folder in our freenas jail, to do this, navigate to: \\freenas\FreeNASROOT\jails\plexmediaserver_1\media (if you have named everything as i have here) and add a folder called “Movies“.
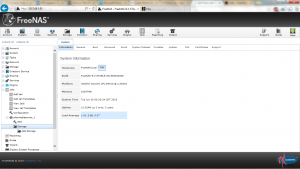
This is going to act as an alias in the FreeNAS Jail’s storage we are about to configure. So go ahead and open back up your web browser, open up FreeNAS and navigate to Jails on the left hand side, expand everything you can.
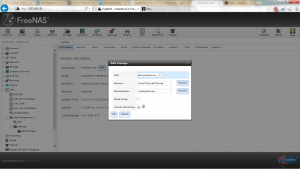
…and you should be in the “Add Storage” section of your Plex jail. Go ahead and click on Add Storage. For Source put /mnt/Volume0/Movies or navigate to wherever your movies actually live. And for Destination put /media/Movies
Now go back to Plex and Click on the + (plus) in the upper left, next to the name of your Media Server and you will get something that looks like this: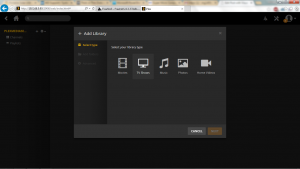
From here you will choose “Movies” and click Next
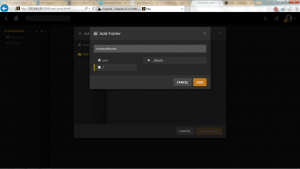
Click on “Add folders” on the left hand side and choose the alias that we created /media/Movies. Now Plex should auto-update and find the new movie(s), but in case it doesn’t, just click on the gear on the upper left and select “Update Libraries” and there you have it, you can now see your new movie(s) on Plex!
Now that I have gotten you up and running you just have to go look through the Plex settings by clicking on the Wrench and Screw Driver in the upper right hand corner. It’s all pretty straight forward and simple but if you can’t figure it out then google that shit, then if that doesnt work comment and message me and i will see how I can help.


