FreeNAS is offered in two ways: Install and support it yourself, as it is a Free/OpenSource Operating System, or invest in a turnkey solution from iXsystems Inc. Their support is great as they built the OS and know how it works best, I would strongly recommend contacting them if you are running FreeNAS as a business solution.
This how-to will cover the basic install and very basic set-up of FreeNAS. FreeNAS has a lot of options and you will set it up pretty uniquely with each option. So for this tutorial I have covered a basic setup and a CIFS/SMB Share. This will allow you to use your FreeNAS server as a Data/File Store.
What you will need
- 1 – Dell CS24-SC
- 2 – 8GB Flash Drives
- LAN Connectivity
- Keyboard and Monitor – (if you are not going to use BMC)
- 1 – Windows Computer – (I am using Win7)
FreeNAS USB Stick
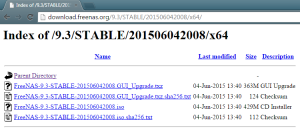
Obtain a copy of the FreeNAS ISO.
NOTE: This Guide is using the Build FreeNAS 9.3 Stable
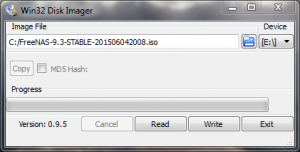
Write the ISO to a USB drive (Use a USB Drive of at least 8GB’s)
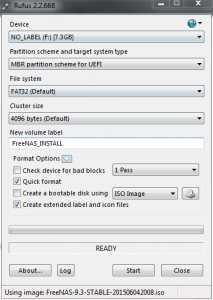
– You can do this using Win32 Disk Imager or Rufus
**Use the settings you see above in Rufus
Installing FreeNAS
You can also refer to the FreeNAS installation instructions from the developers website found here
I am using 2 separate USB’s for the install, I have found this to be easier as i keep quite a few OS’s on USB sticks at any given time. One is set up as shown above with the ISO mounted to it, and the other one is currently formatted as FAT32, FreeNAS will work fine with this. Attach the ISO drive to the back and the blank drive to one of the front slots.
Boot your CS-24
You can do this from the BMC console which is where I will get the following screenshots come from. You will get the exact some thing when hooking up a monitor and keyboard to your CS-24.
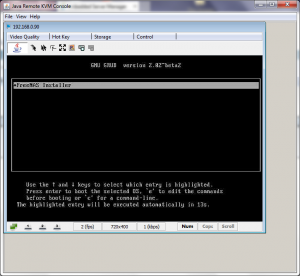
When FreeNAS boots you will see the following screen:
Click “enter” on the one and only option, if you fail to do so FreeNAS will proceed with executing the FreeNAS installation anyway.
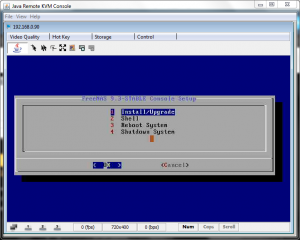
Next You will see this screen with four options:
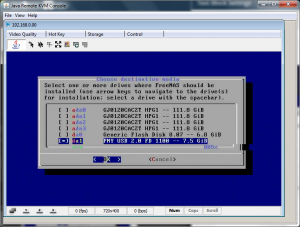
Click “enter” on the first option, Install/Upgrade, and you will get the following screen:
(Note – I used 2 different brand flash drives that were different sizes so it was easy to identify the two)
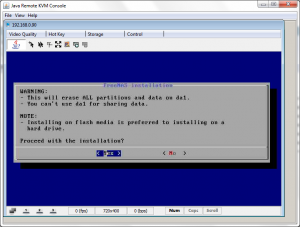
Here you will select the flash drive that is plugged into the front, by scrolling to it and hitting “space” and then “enter” and you will get the following screen:
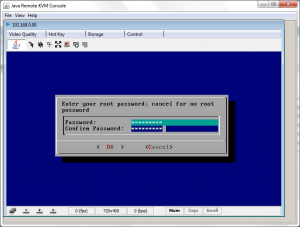
Click “enter” on YES here, this is just formatting the drive with the correct permissions for FreeNAS, and you will get the following screen:
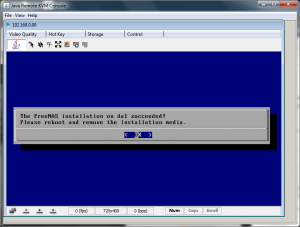
Here, enter your password into both fields and click “enter” on OK, then you will see some script run and after a while you will finally get this screen:
Click “enter” to acknowledge that you understand the notification. And this will bring you back to the original screen where you will now choose option 4 Shutdown System
Once the server is off, remove the flash drive from the back of the machine, and move the one from the front to the slot in the back and you are ready to roll. Power that baby on and wait for the install to complete…
Configuring FreeNAS
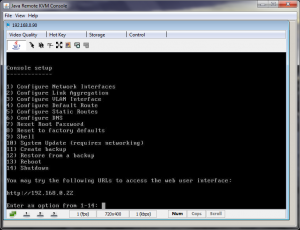
When your server does finally get done booting for the first time you will see the following screen that will have an IP address on it if your network has DHCP enabled, if not you will have to configure the network settings , which will be covered in the next step:
Now to configure the network chose option 1 and click “enter”
Now I am going to be using both NIC’s, you can choose to use just one or the other if you wish, but i have chosen to use both for redundancy reasons, both NIC’s are not necessary.
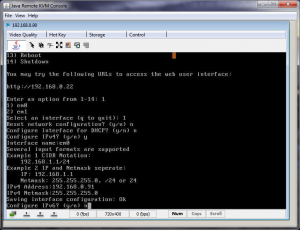
Now you can set up your network as follows, since I am on the 192.168.0.0/24 Network I will be setting my FreeNAS box accordingly.
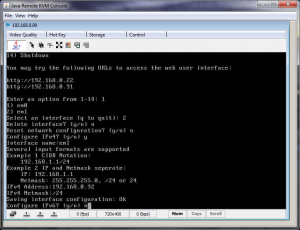
You can see my configurations here:
Once you have done the steps above, you will come back to the main screen and it will look like the screen below:
(but the IP'(s) listed will be static IP'(s) on your network)
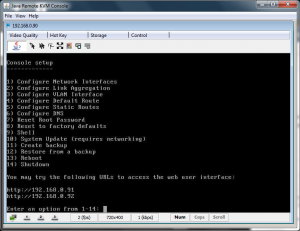
Now you just need to change the root password, do so by selecting option 7 and following the reset password prompts.
FreeNAS GUI Configuration
Now that we have done all the steps for the console configuration we will choose one of the two IP’s above, open a browser from a computer on your local network and navigate to one of those IP’s. When you navigate to either of those IP’s you will see the following login screen:
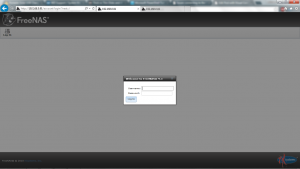
Type in the username “root” and enter the password that you set up in the previous step. Once logged in you will get the following screen:
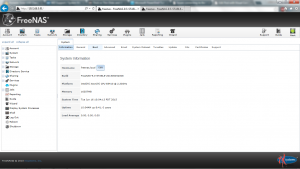
*It may not come up directly to this screen, you will likely get a pop-up for the language and time zone, set these accordingly, and you will get another pop-up asking to create volumes, just click exit on this.
Start off by clicking on the “General” tab and you will get this screen:
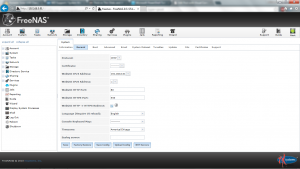
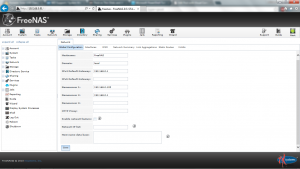
I chose to bind the WebGUI to my .91 address and I verified my Time Zone was correct here. Now you will want to click on the “Network” tab
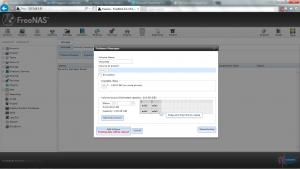
Here you will want to change your Hostname, add in the Defualt IPv4 Gateway, and the DNS servers. After saving these settings navigate to the “Storage” tab and choose “Volume Manager” and you will see something like this:
Since I am running hardware RAID 10 with 4x120GB’s Hard Drives. You will see Volume settings as above. Your volumes will most likely be different from this, so you have some freedom here to choose what best fits you.
You may have to run the following commands from the shell if your Add Volume fails the first time, there is some trash in the partition table area:
sysctl kern.geom.debugflags=0x10
dd if=/dev/zero of=/dev/ada0
after this runs for about a minute, hit ctrl+C and then go ahead and proceed with setting up the volume.
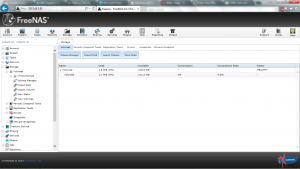
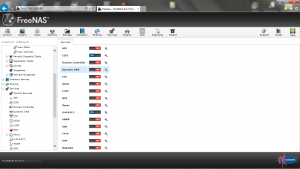
Once you have configured these settings to your liking click on “Add Volume“. After your volume finishes writing you will see something along the lines of the following:
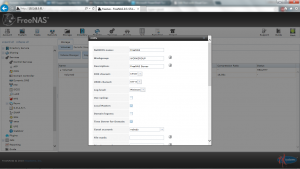
Now that we have our storage set up, we need to setup access for it. I have chosen to use CIFS, as I am going this from a Windows Machine. Expand “Services” on the left hand side and select the “CIFS” tab. and it will bring up the following:
You can choose what to put in all these fields, just make sure you check and IP to bind it to at the bottom. Next go back to the left side of the screen and click on “Control Services” under the “Services” section.
Here you will need to turn “CIFS” on. Now we will need to add a CIFS share onto FreeNAS, first expand “Sharing” then expand “Windows (CIFS) Shares” and click on “Add Windows (CIFS) Share”
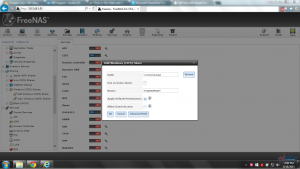
I am choosing to share the root of my “Volume0” and I decided to name the share “FreeNASROOT”
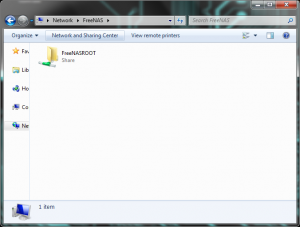
After this is done bring up Windows Explorer and verify that you can access the share. For me I had to type in \\FreeNAS or \\192.168.0.91 in my explorer bar. Once it connected I saw the share “FreeNASROOT” and when i selected that I was asked for creds to access the share, enter the root creds you use to log into the WebGUI as we have not created any users at this time.
**I am not covering users and user permissions in this how-to, but it is pretty simple and you should always create a user so you are not doing everything as the root user**
