Would you like to be able to have a Datastore full of all your .iso’s and other bootable files?
Well we can accomplish that by setting up an NFS Share in Windows!
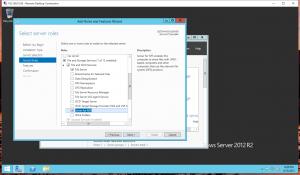
First off we are going to need to set up an NFS Share on your Windows Server. To do this you need to make sure that you have the Server for NFS Role Installed, it is listed under the File and Storage Services > File and iSCSI Services Role. If you do not already have this installed. Install it now, it will not need a reboot.
I created a new folder on the C:\ Drive labeled: NFS-VMstorage. Right click on the Folder and chooseNFS Sharing tab > Manage NFS Sharing. Here you just simply need to check the Share this folder check box and click Apply.
NOTE: Do not use SPACES in your NFS Directories Name, you will get an error and it will not share.
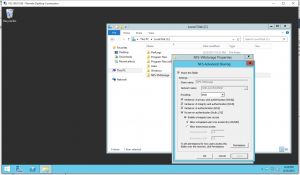
*1 And then I created a Text File in that Directory for testing, you will see this at the end.
Now get into yor vSphere Client and navigate to the Host’s Configuration tab

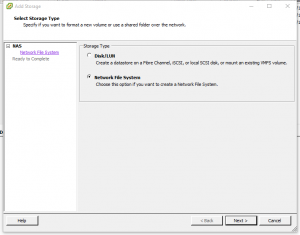
You are going to want to choose Network File System and click Next
And here you will put in the servers IP for the Server: field and the folder name that you created on your C:\ Drive in the Folder: field. Datastore Name is totally up to you, I use the same as the folder name for easy identification.
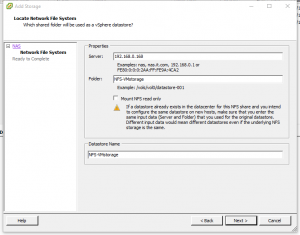 Verify all your settings and click Finish
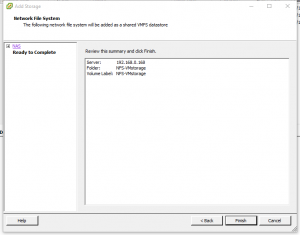 Now browse the Datastore from your vSphere Client and you will be able to READ anything from that share, so your VM’s will be able to use this files to boot from, etc.
NOTE: If you want to be able to write to this folder from esx, you will need to go back and change the permissions in the NFS Sharing tab
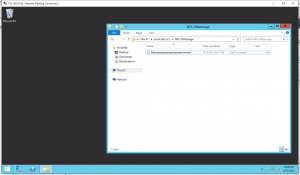
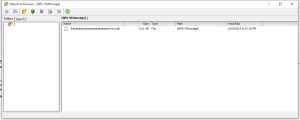
*1 And now you can see the test text file that I created previously. Baaaaaaaaaaaaaaaaaaaaaammmm!.txt
Or you could just avoid all of this GUI stuff, SSH in and run the following command:
Generic: esxcli storage nfs add -H NFS_IP|NFS_HOSTNAME -s Share_mount_point_on_the_NFS -v DatastoreName
My Command: esxcli storage nfs add -H 192.168.0.168 -s NFS-VMstorage -v NFS-VMstorage
EXTRA: Set up NFS with Read-WRITE Permission for ESXi Host
NOTE: I have only tested sharing with restrictive permissions (to a single box) while both the ESXi Host and the Windows 2012 Server are joined to the same Domain. I’m sure if you can get DNS to resolve, you should be fine.
NOTE II: This part did require a reboot for me.
After you have followed the steps above, log back into the server that your NFS share is on and browse to the share directory and select Properties > NFS Sharings > Manage NFS Sharing >Permissions > Add then add the esxi host with Read-Write Permissions.
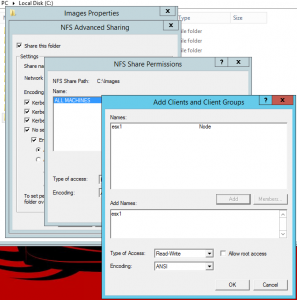
After doing this I was able to move data to this datastore from other datastores. I mainly used this to house my Template VM’s for labs, but there are plenty of scenarios in which it can be useful.


