The Installation and Basic Configuration of VMware ESXi 5.5.0 on Dell C2100 FS12-TY
Server Specs:
- Dell PowerEdge C2100 FS12-TY
- 2 x 2.13GHz Intel(R) Xeon(R) CPU E5506
- 6 x 4GB RAM – Total 24GB’s of RAM
- RAID Controller – SAS 6iR
- 4 x 250GB WD RE 4 HDD’s
I have already set up my RAID Array as follows:
- 2 x RAID-1 (mirror) Virtual Disks setup
For this install I am using the Dell Customized Image of ESX as it fixes known issues and loads drivers for Dell PowerEdge systems. Google if you don’t have the customized Image.
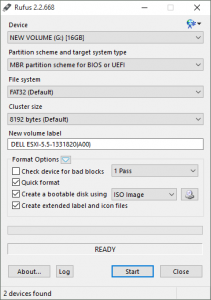
First you need to install the Dell Customized Image onto a USB. I use Rufus on a Windows PC to do so. See the settings I chose for Rufus below:
(Download Rufus)
Eject the USB from your OS and go plug it into your C2100 and boot it up.
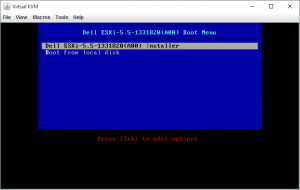
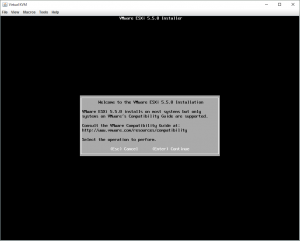
The first thing you will see when your USB is finally booting, after the BIOS and RAID controller info, is the following image:
Hit (Enter) on the Installer:
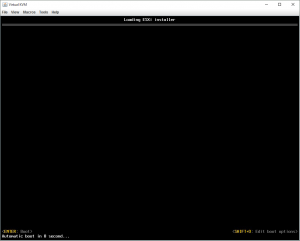
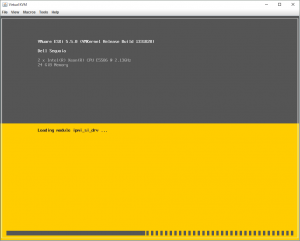
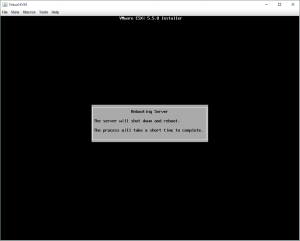
Next ESX will proceed to boot into the installer, you will see the following two screens load all the way through and disappear:
Once those two screens finish loading we will begin the installation.
On the following screen hit (Enter):
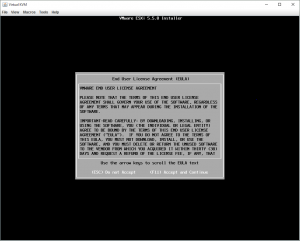
Then you will need to read through and agree to the EULA by hitting (F11) to proceed with the installation:
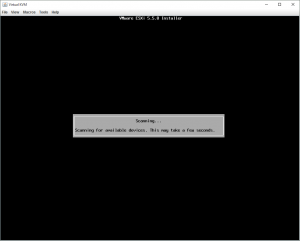
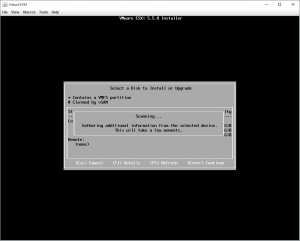
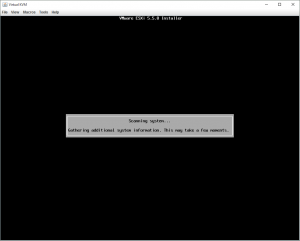
ESX will then scan attached devices that it can install on:
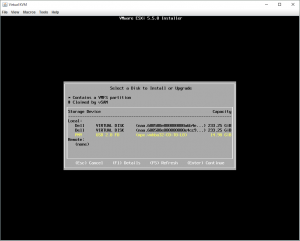
Select the USB drive that you inserted, not your Virtual Disks, and hit (Enter):
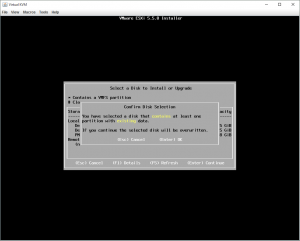
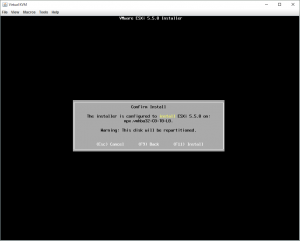
ESX will scan the drive again and then hit (Enter) to confirm the USB drive will be overwritten:
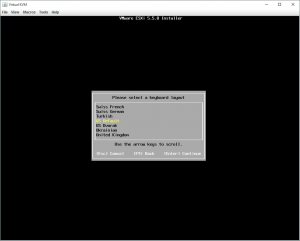
Next select your keyboard layout and hit (Enter):
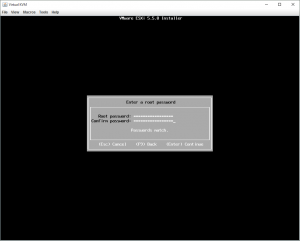
Type in the password for the root user twice and hit (Enter):
ESX will scan yet again, and when that is finished hit (F11) to initiate the installation of ESX onto the USB:
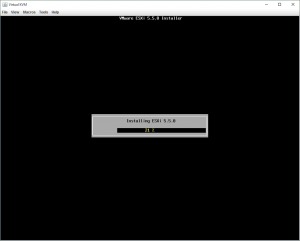
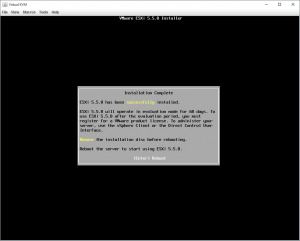
ESX will begin to install and once it is finished hit (Enter) to reboot the server and complete the installation:
This may take a couple minutes.
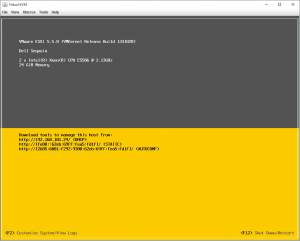
After the reboot, ESX will boot into the following screen:
NOTE: For this tutorial I have DHCP enabled so ESX already has an IP issued to it, but you will want to set this to a static IP for many reasons, so I have covered this in my post: Set a Static IP on your ESX Host
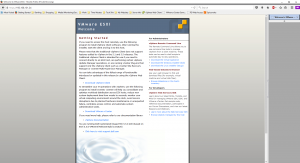
Now go back to your computer, open a web browser, and browse to the IP that we saw in the previous step and you will see the following page:
Click on the “Download vSphere Client” link and Install that on your local computer.
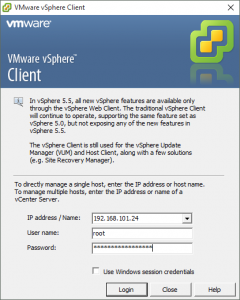
Once VMware vSphere Client is installed, open it, and fill in the fields appropriately.
- IP address / Name: IP of ESX Host
- User name: root
- Password: Password you created
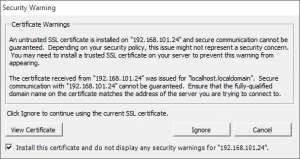
You will be prompted by a Security Warning, check the check-box for Install this certificate and do not display security warnings for “Your IP”. Then click Ignore
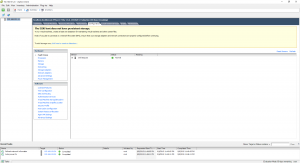
Next you will come to a screen like the following:
First thing you will need to do, is create a datastore. To do so, click on the blue link, click here to create a datastore…:
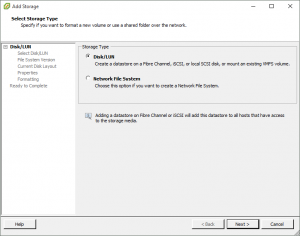
This will bring up the following window, where you will choose the Disk/LUN option and click Next:
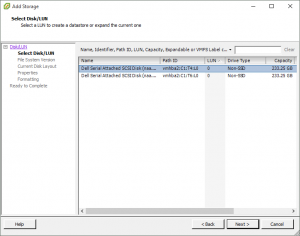
Select one of the disks that you would like to create a datastore out of and click Next:
NOTE: I selected one of the two RAID-1 Arrays I set up prior to this tutorial
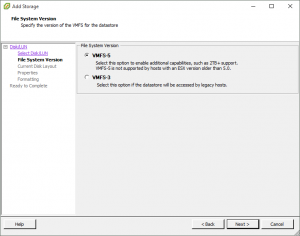
On the next screen leave the VMFS-5 option selected and then click Next:
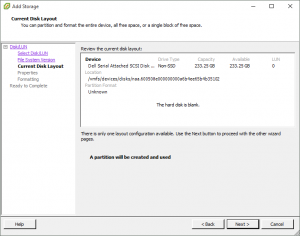
Confirm the disk layout settings by clicking Next:
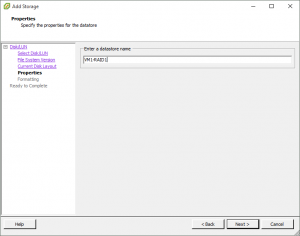
Name your datastore with a naming scheme that you see fit. I have named mine VM1-RAID1. Then click Next:
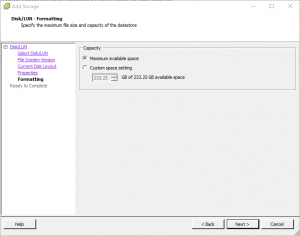
Leave Maximum available space selected, unless for some reason you are not applying all the RAID-1 to this host, and click Next:
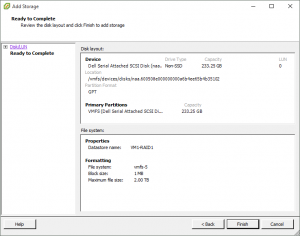
Click Finish to create the datastore:
Next we are going to add an image to the datastore so we can create Virtual Machines off of that image.
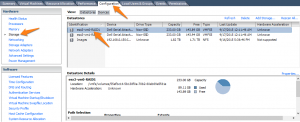
In the VMware vSphere Client click on the Configuration tab and then click on Storage under the Hardware Section.
Here you will right click on your new datastore and click Browse Datastore…:
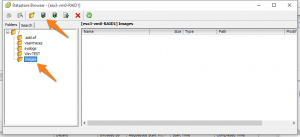
Create a folder in the root of that drive named Images and then click the Upload Icon and choose Upload File…:
NOTE: You can also choose to set up an NFS datastore to store your .iso and other bootable files. If you choos to go that route you can skip this step. I have already covered how to accomplish this in my tutorial: How to create and ESX Datastore from a Windows NFS Share
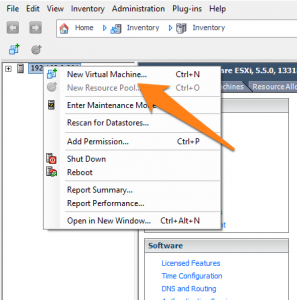
Once the .iso, for whatever OS you have chosen, has finished uploading, you will simply right-click on your host and select New Virtual Machine…, and proceed to set up your VM according the the specs that you need.
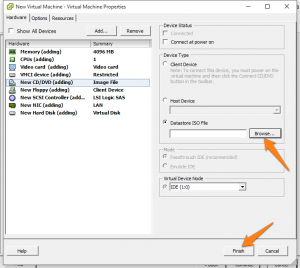
In the last step of creating the VM, where the tab on the left reads Ready To Complete and you have a Finish option, check the check box for “Edit the virtual machine settings before completion” and then click Continue.
In the popup window you will need to browse to the New CD/DVD (Adding) section and then select Datastore ISO File to Connect at power on. You are going to want to click Browse… and browse to the .iso that you previously uploaded, then click Finish.
That is it, wait for your VM to create and then power it on.
Once you power it on, you can open the console and set up network connectivity to the server as it meets your needs.
NOTE: After you complete the installation of whatever OS you chose, you will want to go back into setting, and set either set this setting to “Client Device” or remove the check next to “Connect at power on”.
If you have any questions, please contact me through the site.
